Signing Overview
Once you send a transaction to a signer, they'll receive an email invitation to complete their documents. The signing experience can vary based on the document requirements for the transaction.
Proof also offers a variety of tools to customize the experience to be as seamless as possible for your customers, and retrieve information about completed identity verifications and notarizations for your records.
eSign Signing Process
eSign transactions are plain and simple - the signer simply signs their documents and they're all set.
Notarization Process
Notarizations involve a thorough identity verification process and tech check prior to connecting the signer with a notary. While signers are briefed on the signing experience in the email invitation, you can read our guide on the notarization signing process to help your team set expectations for your signers and ensure higher completion rates.
Proof Process
Proof transactions involve a thorough identity verification process. While signers are briefed on the signing experience in the email invitation, you can read our guide on the Proof signing process to help your team set expectations for your signers and ensure higher completion rates.
Custom Branding
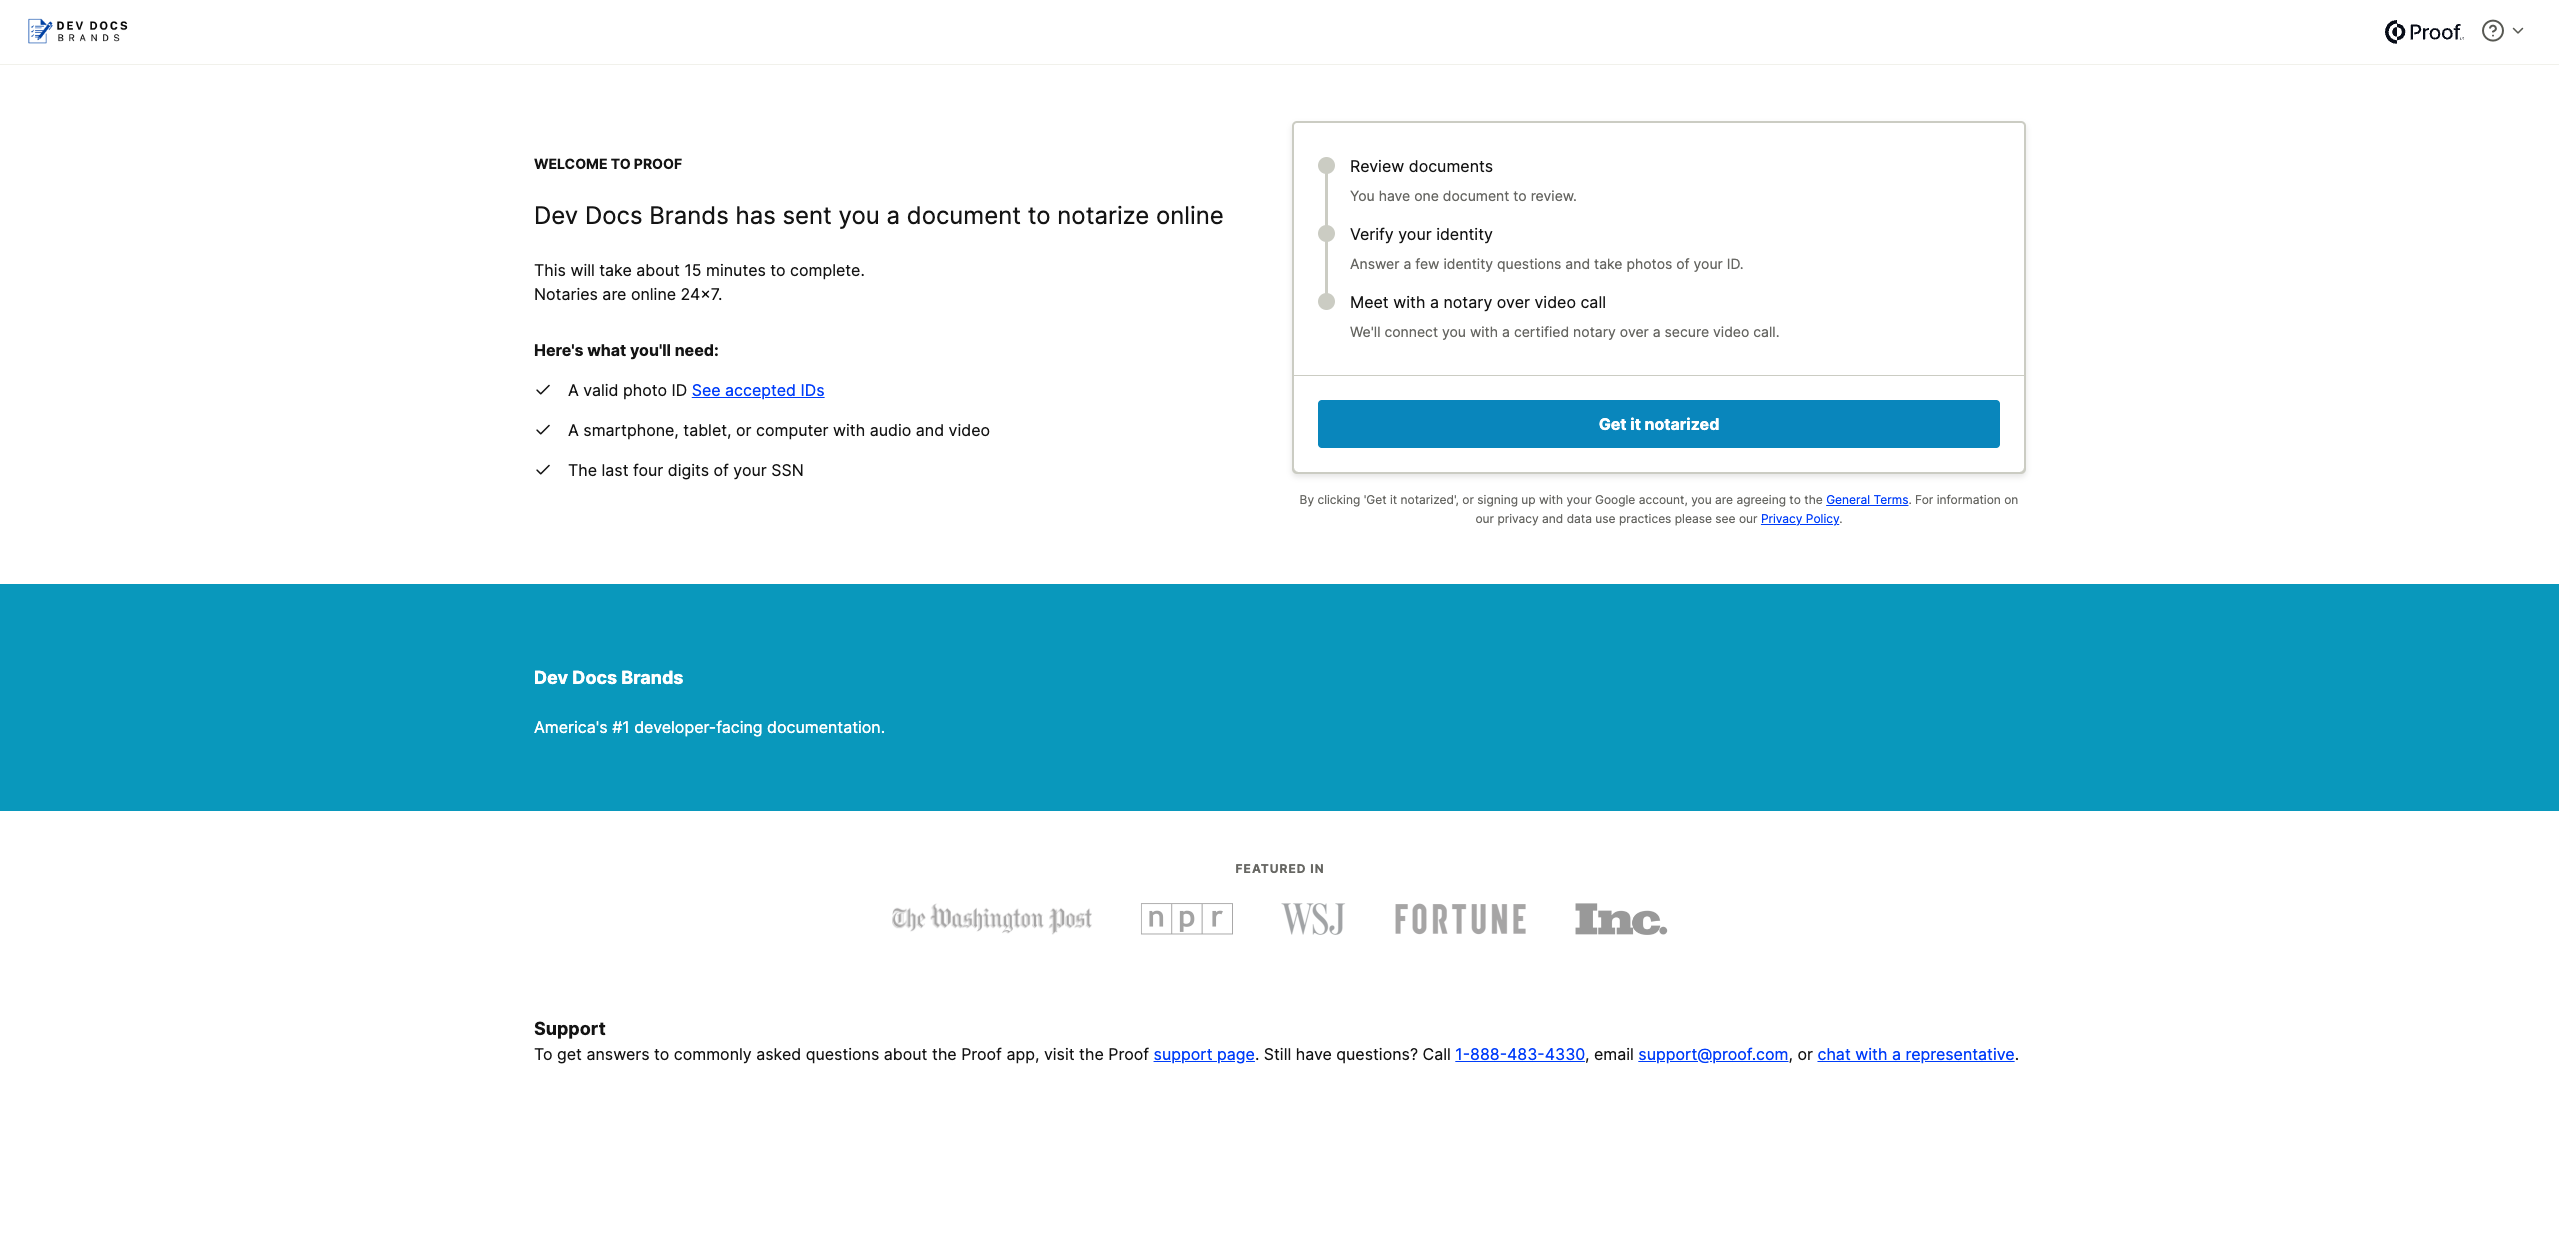
Give your signer landing page a personal touch by utilizing our co-branding tools in your account settings. You can upload your logo and customize colors and text to create a look and feel aligned with your brand, and build trust with your signers.

Click here to see an example of a co-branded landing page!
Signer Annotations
For notarizations, you can specify either at the account level, key level, transaction level, and the document level. whether a signer can modify documents during the review process, prior to the notary meeting. Read our guide on Signer Annotations for more info.
Redirects
After your signer is done signing, you may redirect your signer back to your website by setting up a redirect either per transaction via API, or to a default link per API key.
Updated 8 months ago