
Proof Transaction Quickstart guide
1. Generate your API key.
See our guides on API Keys for more info.
2. Create Transaction
Proof is tied to signer-level requirements. Thus, when creating or updating a transaction via API, the Proof-related properties are associated with the signer object.
This is unique as the previous requirement property is set on the documentobject. Document-level requirements are still relevant and the impact of those requirements (esign, notarization, readonly, and non_essential) are unchanged. The document requirement determines how the document should be processed/viewed/signed while the proof_requirementvalidates that the signer's identity has been verified with a strong degree of trust. Please note that Proof requirements can only be applied to signers interacting with esign documents. If they are going to perform a notarization, Proof requirements are not needed.
We now support a proof_requirementobject associated with each signer when creating a transaction.
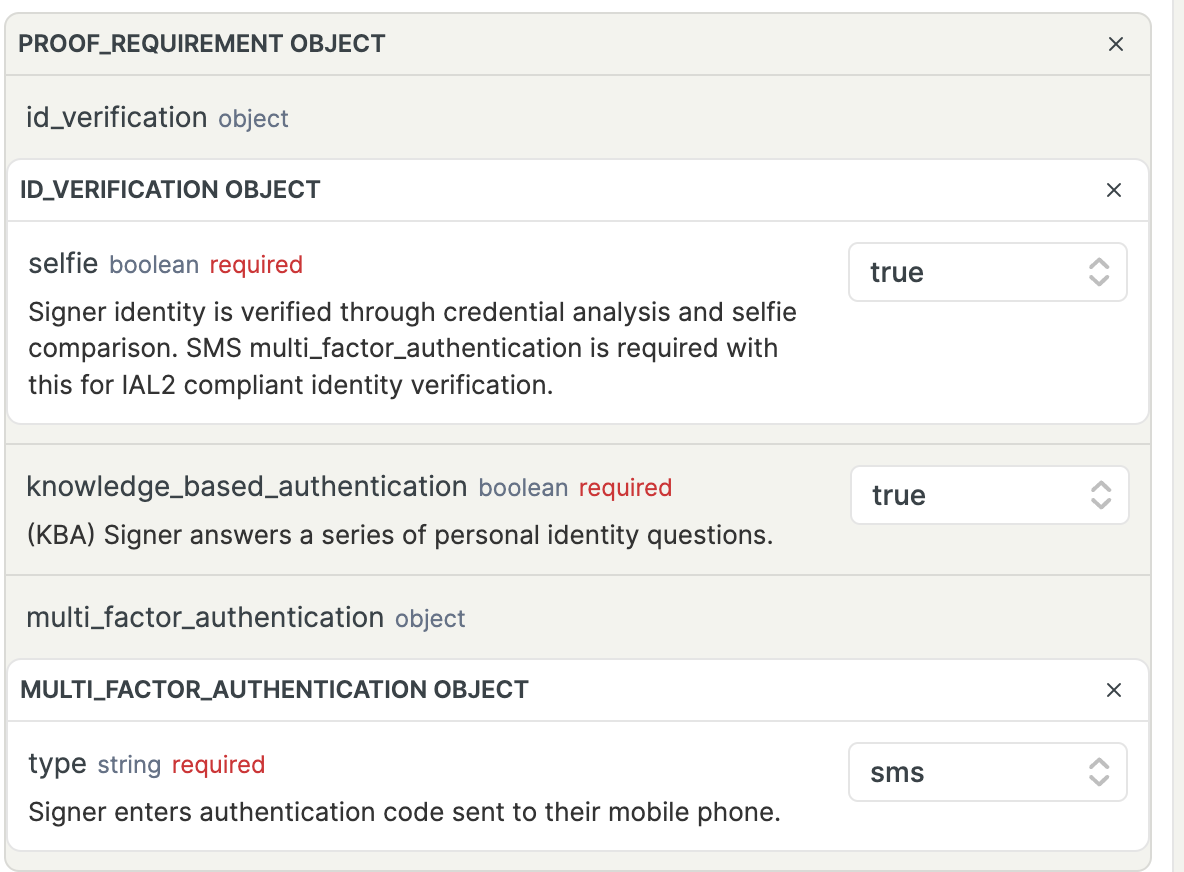
An example of the signer object with the proof requirements is below:
{
  "signer": {
    "proof_requirement": {
        "id_verification": {
          "selfie": true
        },
        "knowledge_based_authentication": true,
        "multi_factor_authentication": {
          "type": "sms"
      }
    },
    "email": "[email protected]",
    "first_name": "Andrew",
    "last_name": "Example",
    "phone_number": "1234567878"
  },
 "draft": true
}
The signer object is a part of the create-transaction calls for both platforms (create-transaction endpoints for business and real estate are linked here and here). If you are using our Real Estate APIs (mortgage/v2), you will need to set the transaction_type parameter to null.
Note that the selfie, knowledge_based_authentication, and multi_factor_authentication properties are all required in order for the response to yield an IAL2 Proof transaction. However, you can optionally exclude certain properties if you just want to use the others. For example, if you just want SMS authentication (but not KBA and selfie comparison), then you can include just the multi_factor_authentication object.
If a signer fails the biometric selfie comparison during the lifecycle of a Proof transaction, they can retake it two times. On the third failure, signers are redirected to a trusted referee.
3. Add Documents to the Transaction
If you marked the transaction as a draft in step 3, call the Add Document endpoint to add the documents to be signed. You are welcome to use this static test document for testing purposes: https://static.notarize.com/Example.pdf.
POST /transactions/ot_xxxxxxx/documents

{
    "resource": "https://static.notarize.com/Example.pdf"
}
4. Monitoring the Transaction
You can leverage Proof webhooks to monitor the state of the transaction. Webhook events only contain the event name and the transaction ID, so more detailed monitoring will require a Retrieve Transaction call.
5. Retrieve the Completed Transaction
The Retrieve Transaction endpoint will return links to the completed documents. If you're interested in running a test end-to-end with a test notary session, see our testing guide.
Updated about 2 months ago
/