
Notary Platform Guide for Testing
This guide walks you through the process of operating our notary platform in the Fairfax (test) environment, in order to complete a test notarization end-to-end.
Prerequisites
- The In-house notaries (IHN) feature is enabled on your Notarize Fairfax account. Please contact your dedicated Customer Success Manager or [email protected] if you’d like this feature enabled.
- Your IHN onboarding process is complete. Please consult the IHN profile setup guide to complete this process.
Logging Into Your Test Notary Account
Once your notary profile is successfully approved, you can access your test in-house notary (IHN) account at https://app.fairfax.proof.com. Log in and click “Meetings” to begin accepting calls.
When prompted to select your county, any value is accepted. You will then be able to view the incoming signer queue:
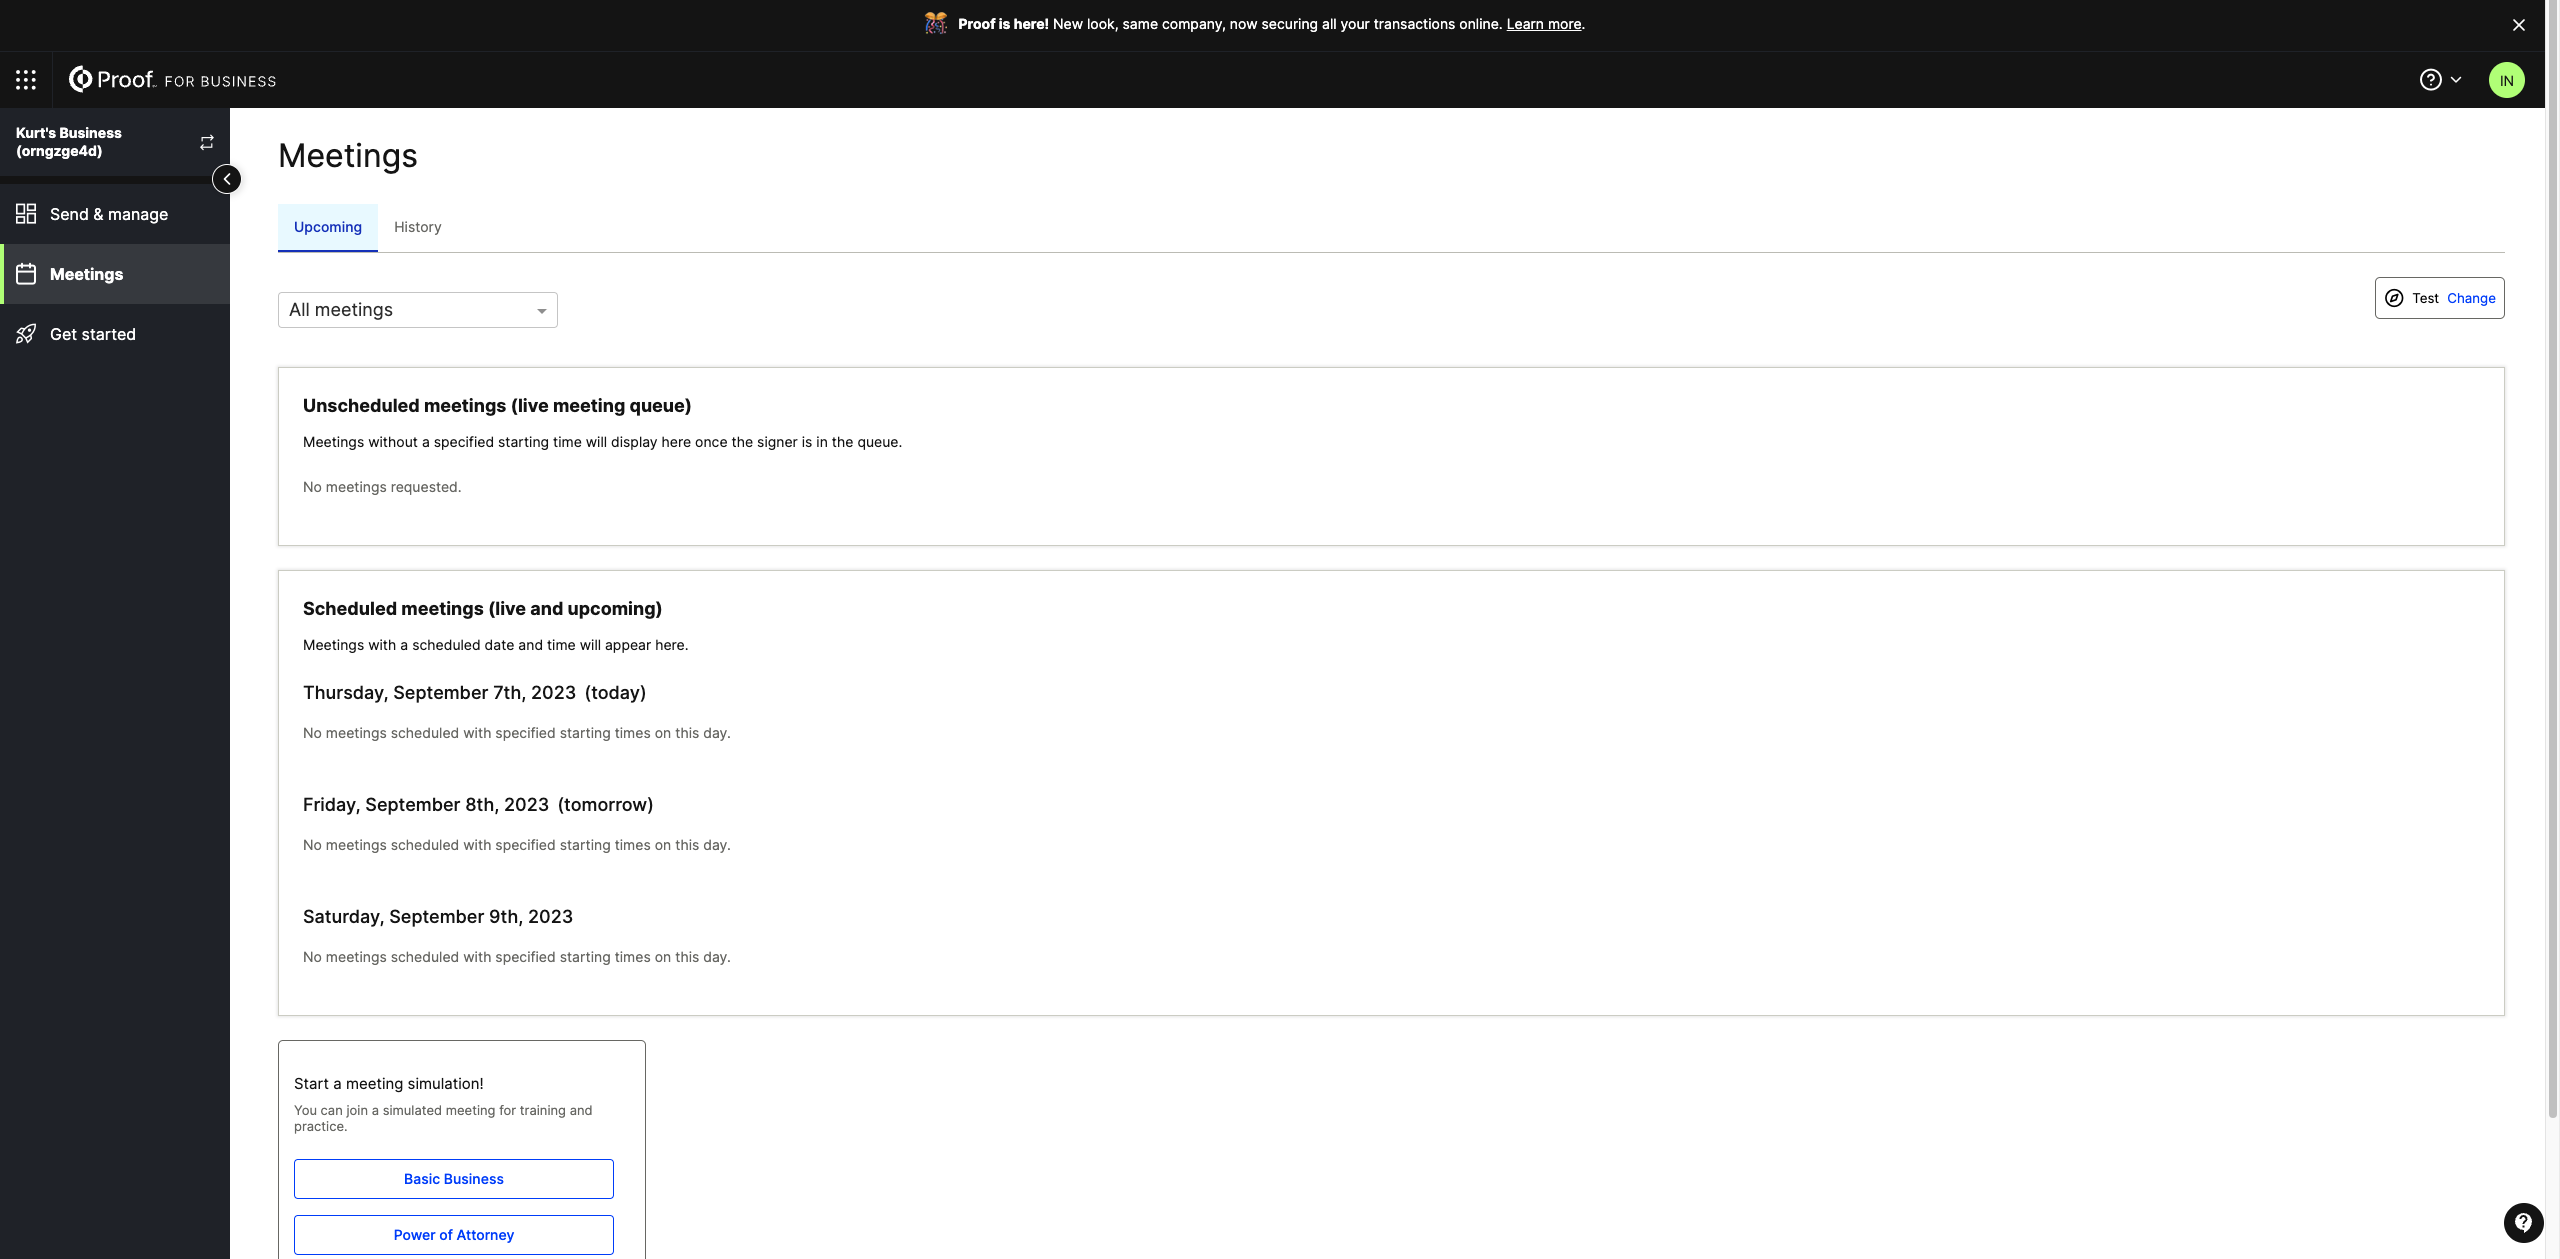
Accept a Signer into a Notary Meeting
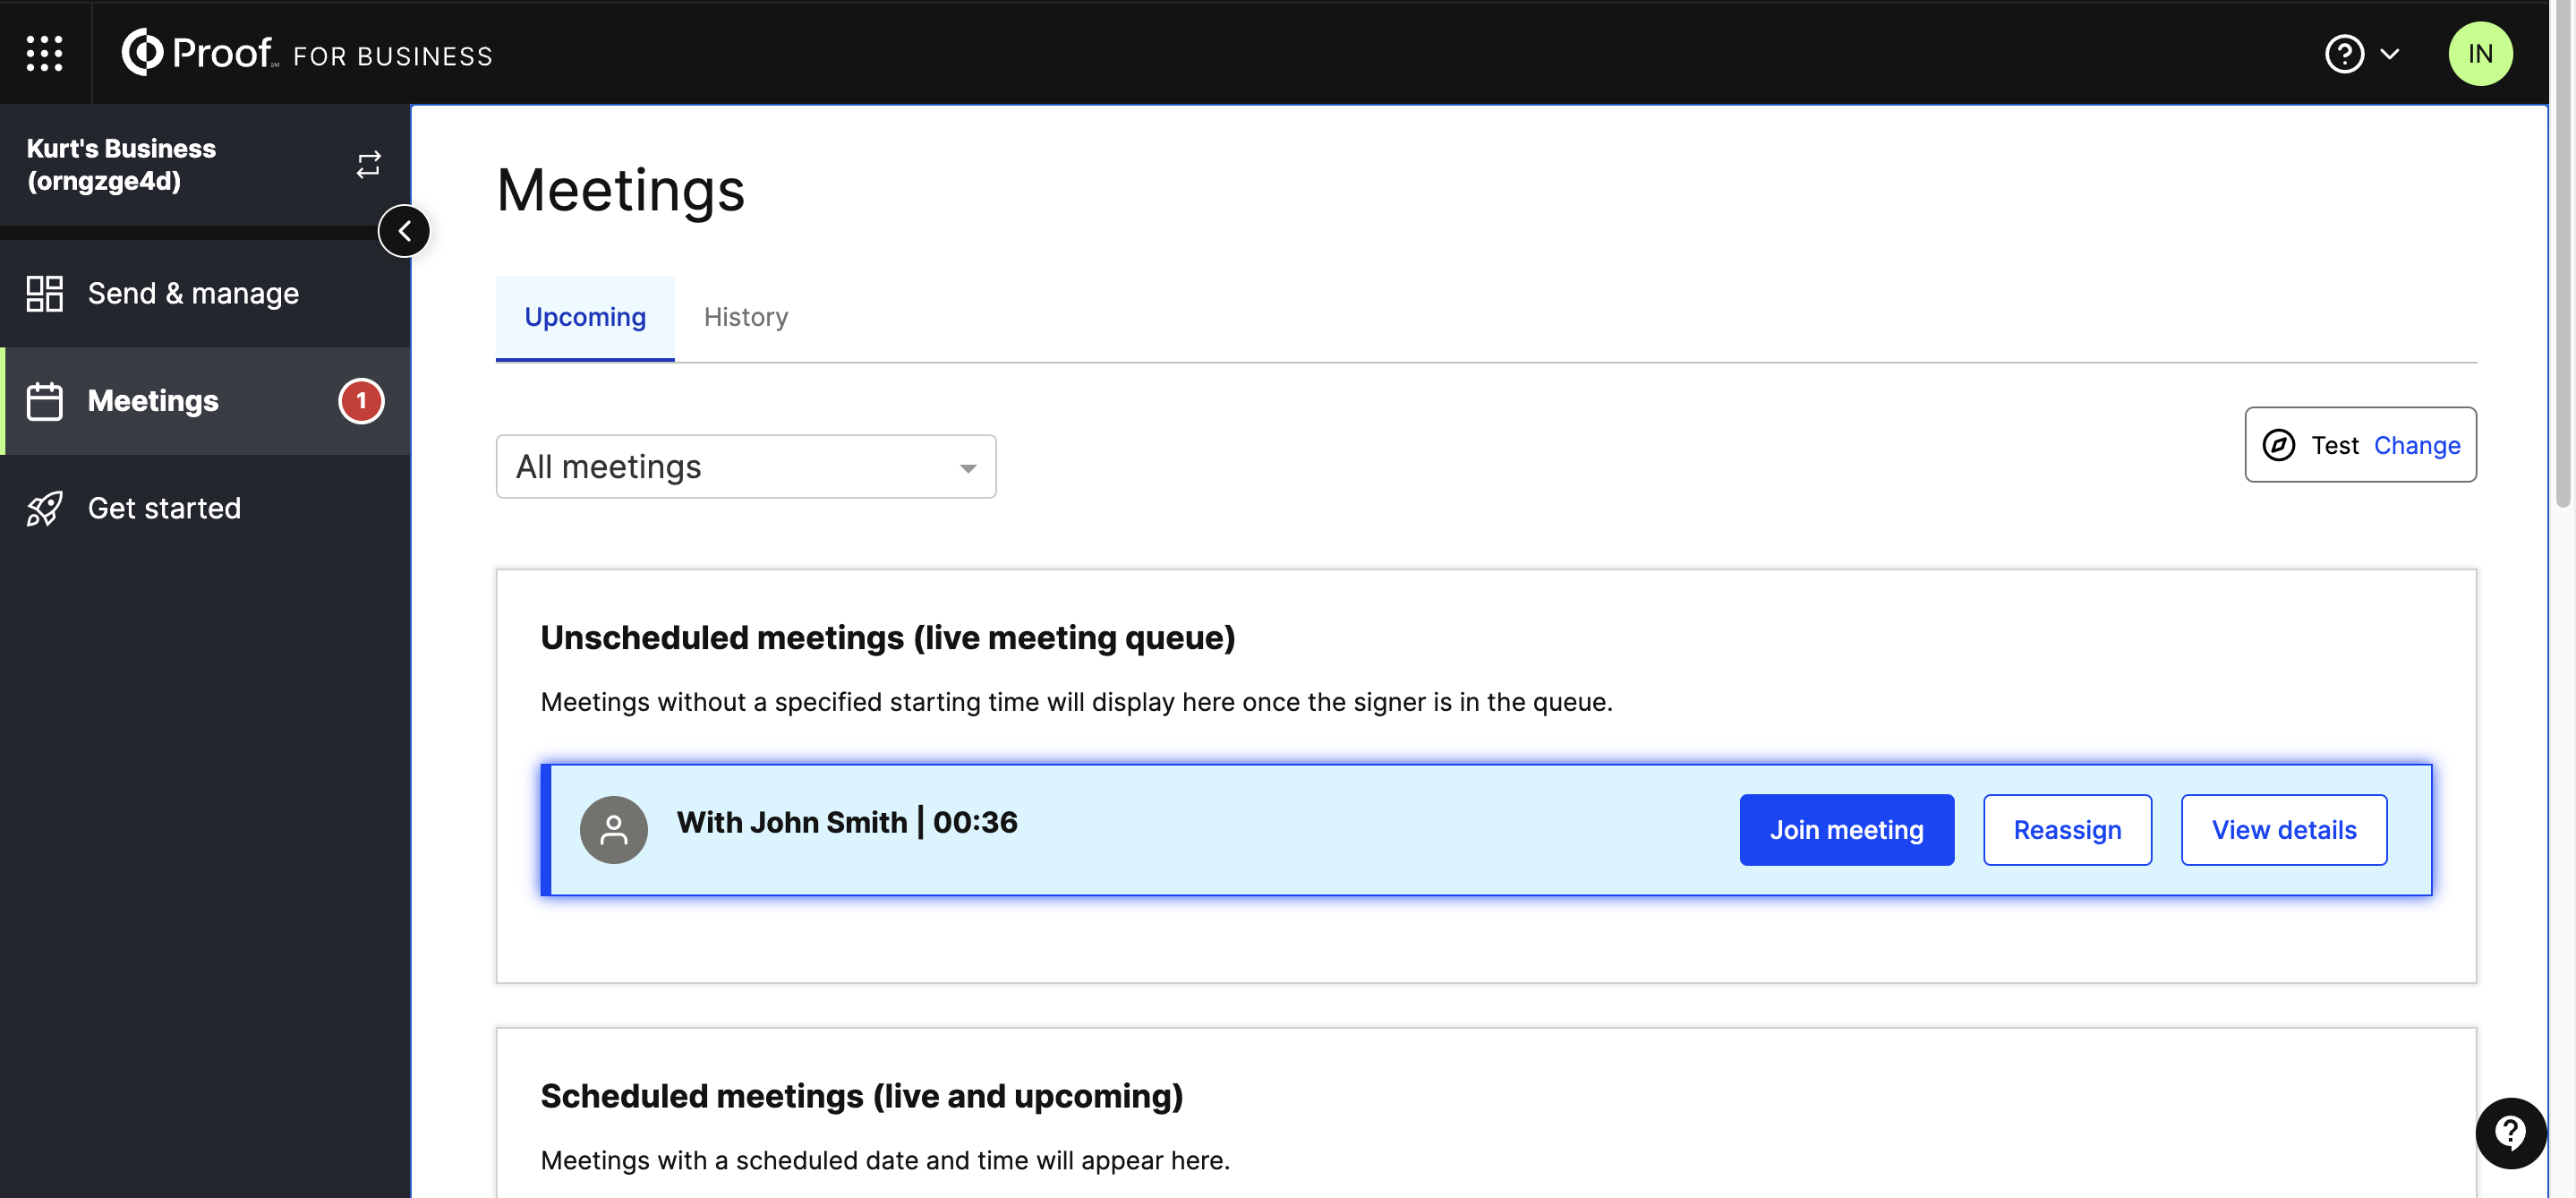
Incoming notary meeting requests will be displayed here when a signer has completed their ID verification steps and has entered the waiting room:
Click the signer’s name to begin a test notary meeting.
Steps to Complete a Test Notarization
- Mute your microphone in the meeting if you and the signer are in the same room or are on another call together. We also recommend muting your browser tab (right click your Proof tab, Mute Site on most browsers).
- Before the signer signs the document, check the signer’s ID by clicking the Validate ID button next to the signer’s name

- At the bottom-right corner, click “Complete ID Validation”. Then in the bottom-left corner, click “Exit Identity Verification”.
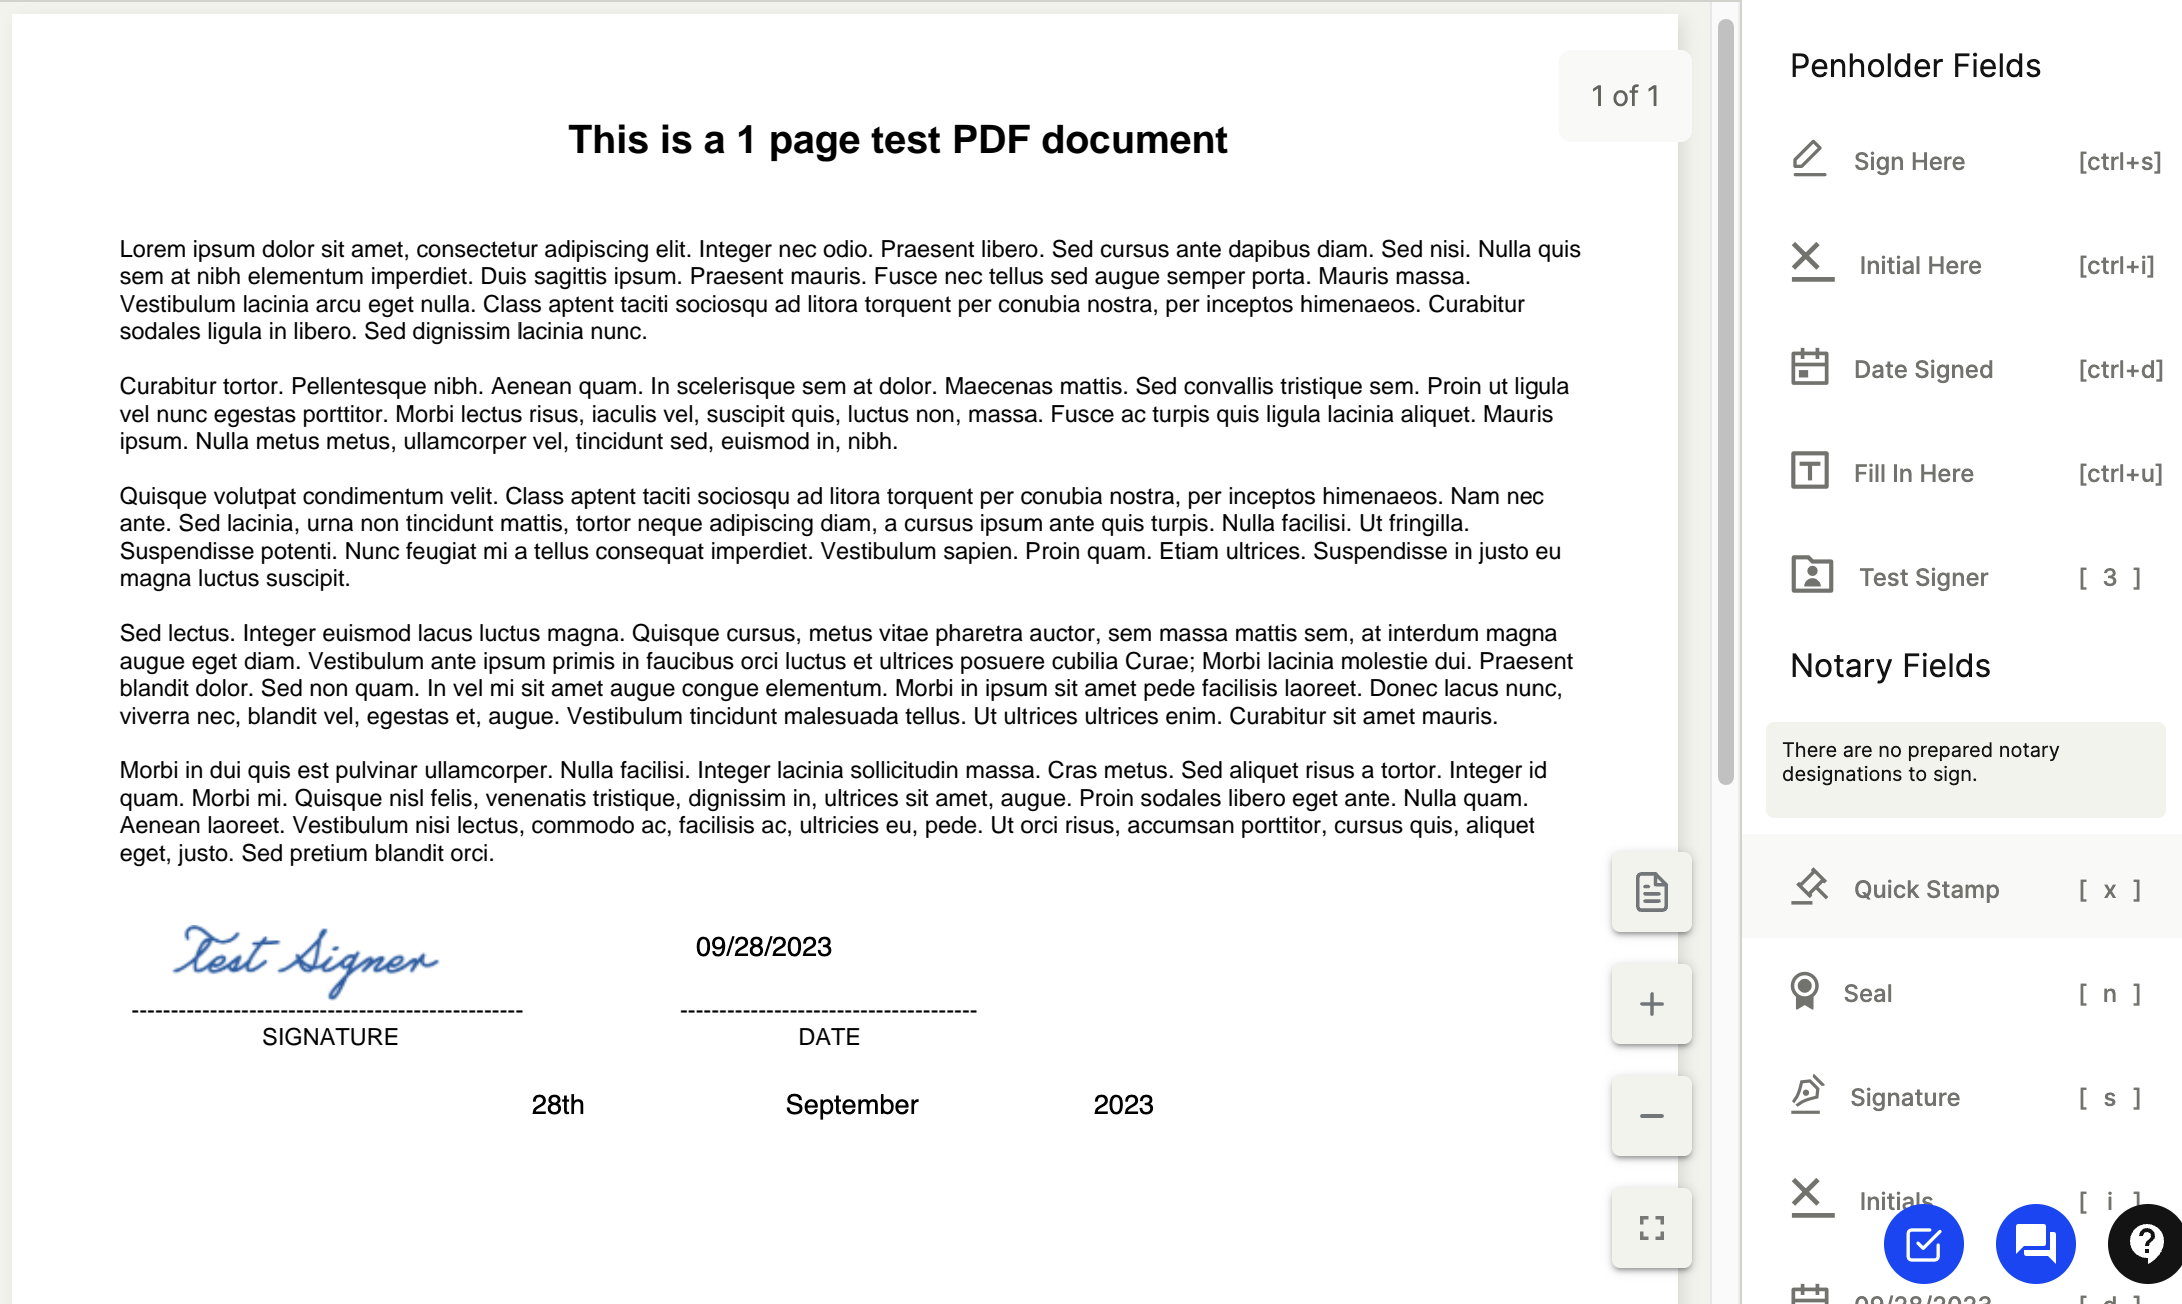
- Allow the signer to complete all required fields in the document by clicking on the designations assigned to them. If your document was not tagged ahead of time, you can drag a "Sign Here" designation from the Penholder Fields menu on the right.
- Scroll down in the right menu bar until you see the Notary Fields. Select Quick Stamp.
- Select 'No' for is there a pre-printed notarial statement. This will allow you to place all required notary fields in a block. If you select 'Yes', you will place each required field sequentially on your form. Select Acknowledgment by individual as the Notarial Act, then click Place Fields
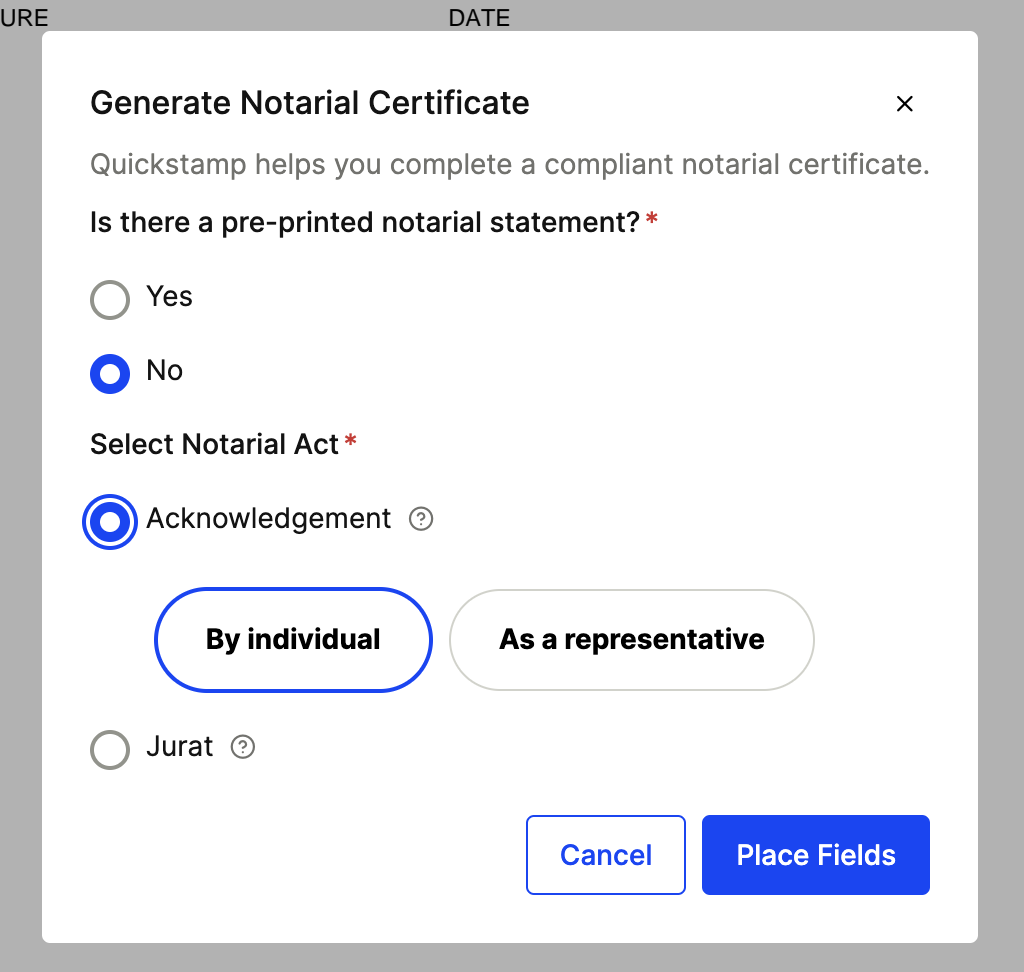
- You will be able to place all required fields as one large block. Place this anywhere on your test document.
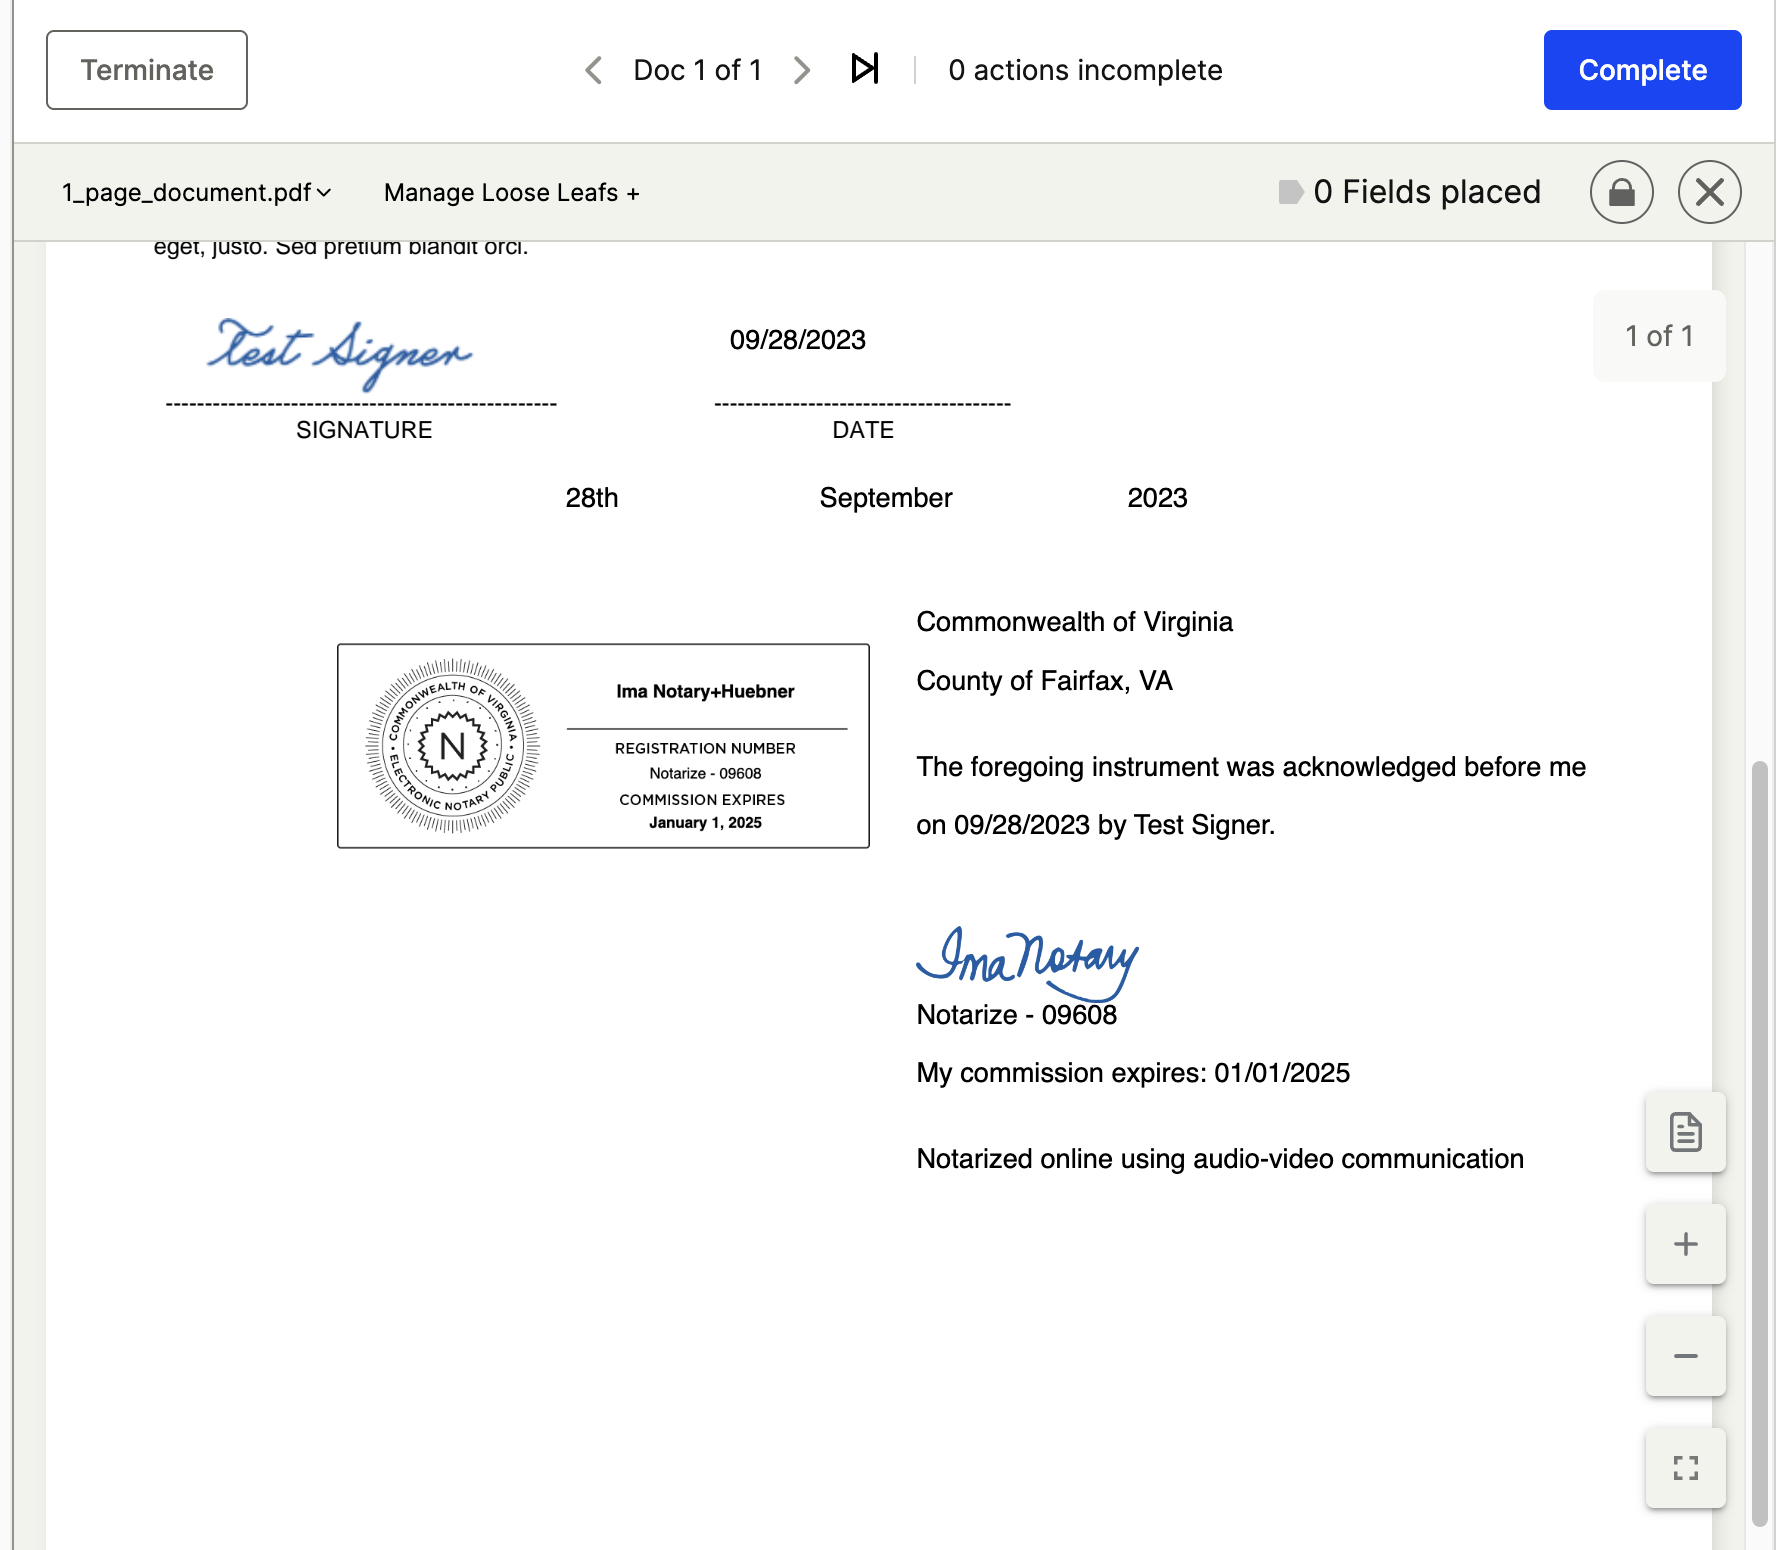
- In the top-right corner, click “Complete” to complete the meeting. Any outstanding completion requirements will pop up if not yet completed.
Then, if all outstanding requirements are completed, you will see the following pop-up. Click “Complete Meeting” to officially complete the meeting.

Updated 7 months ago