Signer Platform Guide for Testing Notarization
This guide walks you through the process of signing a test document in the Fairfax (test) environment, in order to complete a test notarization end-to-end.
Prerequisites
- The In-house notaries (IHN) feature is enabled on your Proof Fairfax account. Please contact your dedicated Customer Success Manager or [email protected] if you’d like this enabled.
- Your IHN onboarding process is complete. Please consult the IHN profile setup guide to complete this process.
Send the Document to Yourself
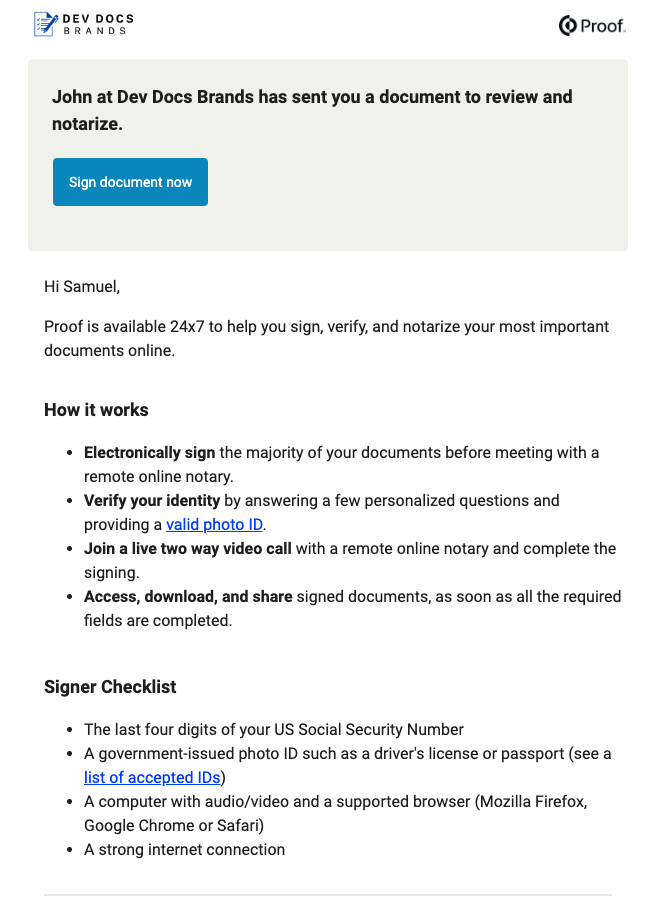
When creating the test transaction, make sure you are listed as the signer. When the transaction is created, you will receive an invitation email to complete the notarization. Click the link in the email to get started.

Complete Verification Steps
- On the landing page, click “Get it notarized”.
- On the document review page, click “Done reviewing”.
- Begin the identity verification process. Any values are accepted in the test environment; real personal information is not necessary.
- Begin the test knowledge-based authentication (KBA) quiz. The correct answers are marked with CORRECT.
- Complete the ID capture. Any form of Government ID will work in test. You can complete this by phone or browser. A real photo ID is not required. In test, most people just take a selfie or hold up their coffee cup.
- Once you complete the ID upload steps, click “Join Now” to join a notary meeting. Your test notary will be able to accept you into the meeting now.
Complete the Transaction
- Mute your microphone in the meeting if you and the test notary are in the same room or are on another call together.
- Sign the document wherever required.
- The notary will complete the meeting when all requirements have been completed.
- If prompted to pay, use the official Stripe test credit card:
- Card Number: 4242 4242 4242 4242
- Expiration: Any future date
- CVC: Any 3 digits
Updated 8 months ago